how to use Evilginx2 to grab session tokens and bypass Multi-factor authentication

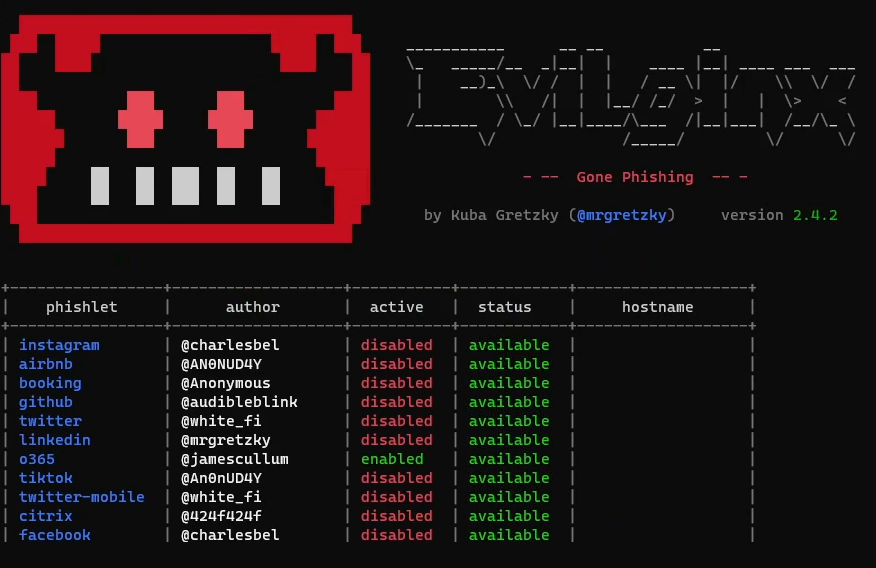
Evilginx2 with o365 phishlet enabled

Today I want to show you a demo that I recorded on how you can use the amazing tool Evilginx2 (by Kuba Gretzky) to bypass Multi-Factor Authentication (MFA). In the demo I used Evilginx on a live Microsoft 365/Office 365 environment but It can be used on almost any site that doesn’t use a more safe MFA solution such as FIDO2 security keys, certificate based authentication or stuff like Windows Hello for Business.

The reason why I recorded the video was to have a video demonstration to show friends and colleagues that keep thinking that MFA is the universal solution to all worlds problems. I want to demonstrate that there are no bulletproof solutions and that we need to think about security everywhere in all layers.

Link to the video:

Like I said in the video the demo was on a Microsoft 365 environment but Evilginx2 works for most sites out there. It works on all Microsoft 365 environments by default but it can be prevented with Microsofts security feature Conditional Access. To prevent it you can for example configure your environment to only allow logins from enrolled/domain joined devices. I highly recommend you doing that.

The tool is easy to install, just follow the installation instructions in the github project. You may have to do some modifications to the .yaml-files for the phishlets since companies like Microsoft make some changes from time to time. I had to do it for this demo and if you have to do it I recommend you to just analyze the login process step-by-step with a tool like Burp Suite to check which cookies you need to grab and so on. There is a great wiki-page in the Github project so you can see how you should configure your phishlets. Thanks

You should of course not use Evilginx2 anywhere without permission since that is illegal in most countries. Only use it in locked down demo environments or in penetration testing scenarios where you have written permission from the client.

If you have any questions, feel free to contact me on twitter @tzusec.

// Rickard Carlsson

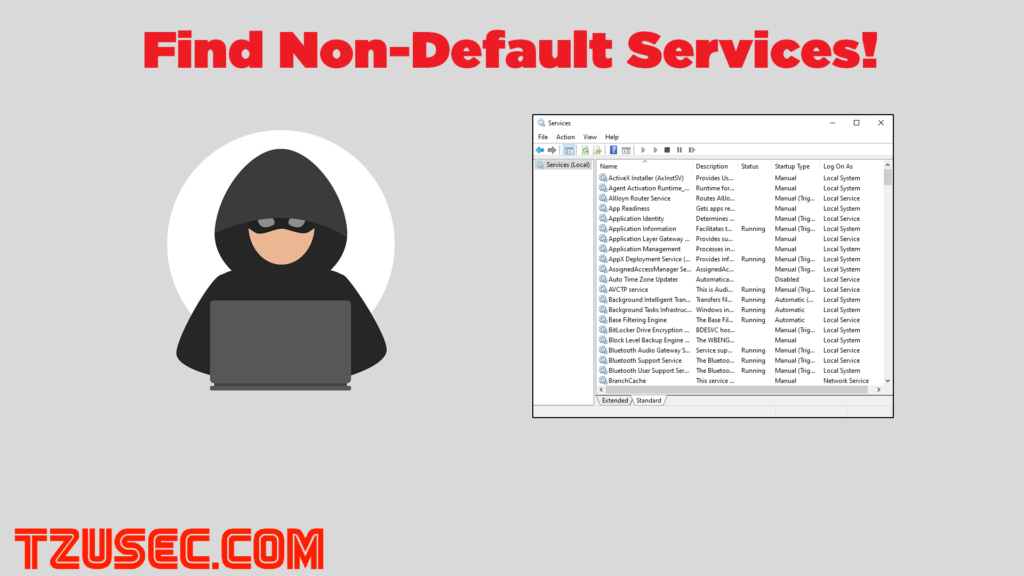
Find all non-default services on you Windows machine with Powershell

I just released a new video on Youtube where I show you how to use my new Powershell script for getting a list of all services that run on your windows machine that are not default services. You probably won’t need a video instruction on how to run a simple Powershell script but I’m sure it can help someone who is not so familiar with scripts.

The script is not something fancy, just a simple script that will list all non-default services and show you the info you might want to know.

  • Display Name
  • State
  • Start Mode
  • Status
  • Process ID
  • Exe Path
  • Description

Here is a link to the script:
https://github.com/tzusec/Get-NonDefault-Services

// Rickard

O.MG-CABLE – How To Get Started

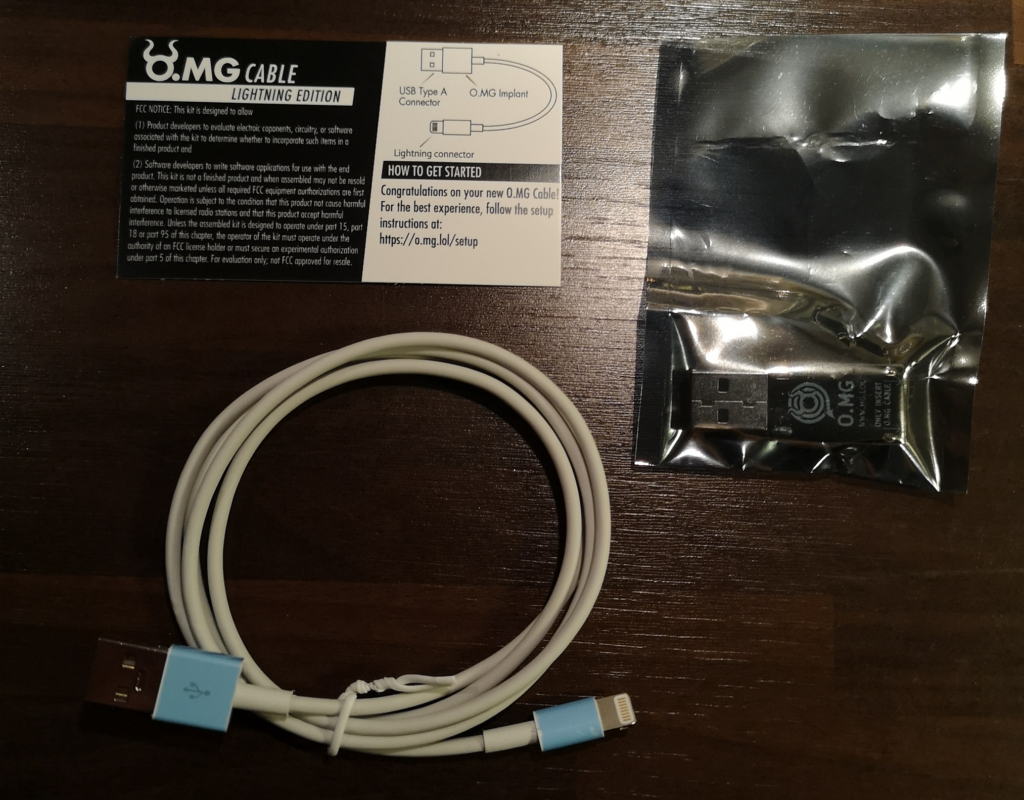
This guide will help you get started with the O.MG-cable. When you open your package it should include three things:

  1. A card with instructions
  2. The programmer
  3. The OMG-cable
OMG-cable

If you read the instruction card you will see that you can find instructions on how to get started at https://o.mg.lol/setup. You will there find a link to the Github project where you can download the latest firmware that we will use to flash the cable.

Download the firmware by clicking on the link to the .zip-file. You will then need to unzip the file and you can do that by navigating to your download folder and run:
unzip O.MG_cable-Firmware_v1.4.0.zip

Then move into the new folder and you will see the following files.

folder

The next step is to plug in the programmer in your computer and then plug in the cable into the programmer. You are now ready to flash your cable and you do that by running the flash_linux:

./flash_linux

You will be able to either program it into Station or Access Point mode. In this case just go by default (AP mode) by pressing Enter. When the flashing is done you are ready to use the cable.

Flashing OMG

Disconnect the programmer from your computer and plug in your cable. Wait for ~60 seconds and then connect to the cable via WiFi with the default credentials above. When you are connected to the cables wireless network you can open a web browser and browse to http://192.168.4.1 and you will get to the UI.

Now you are ready to run your first scripts. Good luck!

// Rickard

Copyright © 2022