Yesterday a new version of Kali Linux were released, Kali 2020.1. You can download it here. Make sure that you have read the release notes to make sure that you don’t break anything you don’t want.
Upgrade your existing machine:
Run sudo apt full-upgrade -y
Wait for the job to finish.
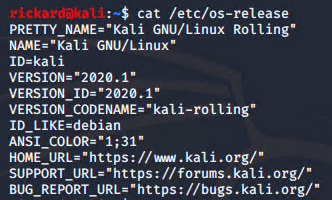
Verify that you got the new version by running cat /etc/os-release
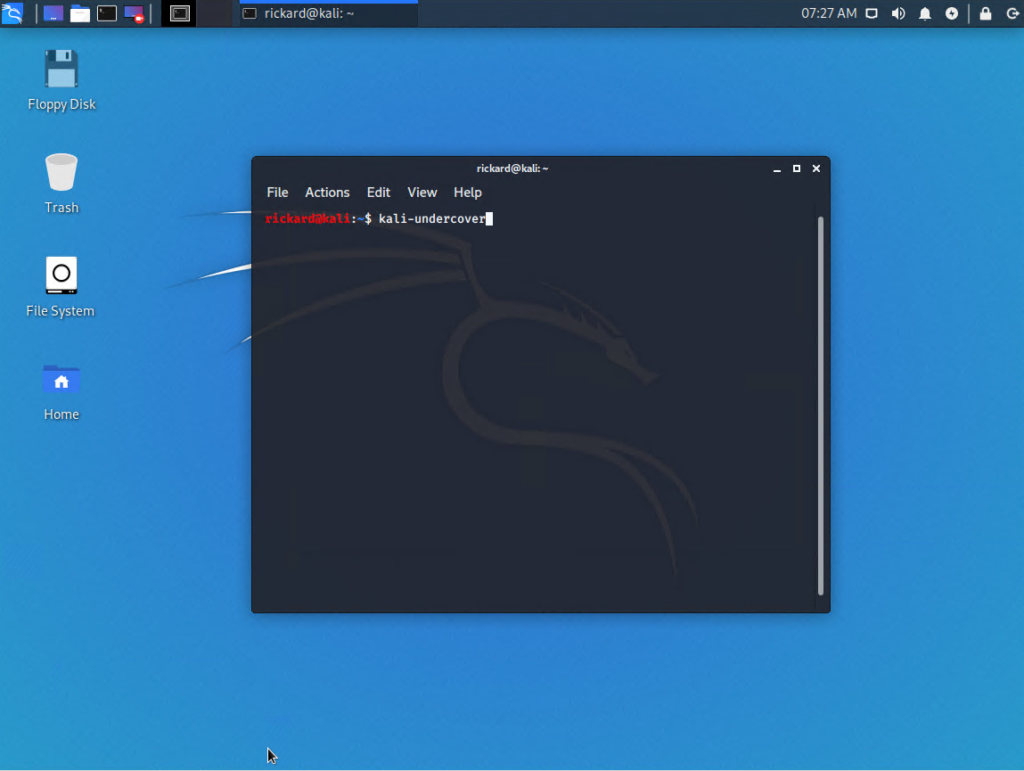
How to use undercover mode in Kali Linux 2020.1: Undercover mode is a new feature for version 2020.1 that will help you hide that you are a super elite hacker when you are out in public by temporarily changing the desktop to look like a Windows 10 machine. I’m not sure I see the real use cases for this but it’s actually a funny feature. To use it you just need to run kali-undercover.
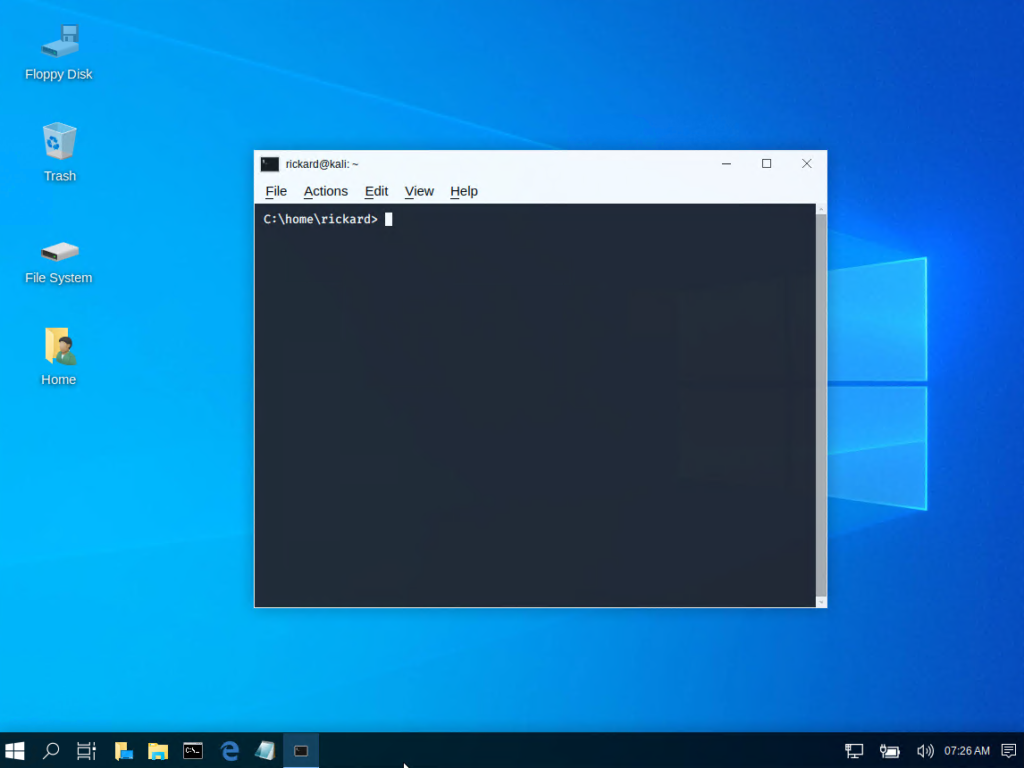
After a few seconds you will see a Windows 10-like appearance, pretty cool.
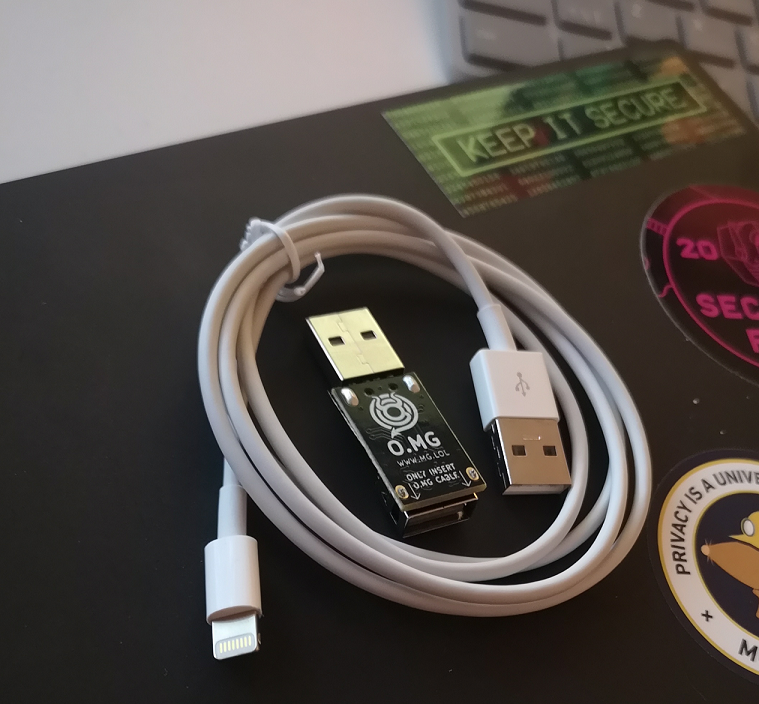
Since @_MG_ posted the first video of his O.MG-cable about a year ago I have been so excited and followed his work closely from twitter and on his blog .
Now the cable can be bought in hak5s shop and as soon as it was available in the shop I placed an order. I really enjoy hacking gadgets and have really enjoyed playing with BadUSB so the thought of now being able to run the same payloads on command via a lightning cable with an implant is out of this world.
The cable looks and feels exactly like a real cable from Apple. Insane!
The price in the shop is $129 and I paid ~$170 + duty for the cable including shipping to Sweden. I was surprised on how quickly I received it. I got the cable delivered within two working days from USA. Unfortunately I got the first cable with hardware fault so I had to wait some more time.
I spent some hours troubleshooting the cable together with MG himself via Slack and after we verified that the cable was faulty he told me to get a replacement cable. MG seems like a really good guy and I really appreciate what he has done with this cable. On the other hand the support from Hak5 were really slow and a disappointment. Without the help from MG I would probably have had to wait months to get a new replacement cable. Three weeks after getting the faulty cable I now have a new cable in my hand which works perfect so I’m really happy now.
I didn’t have too much time to spend this evening but after flashing the cable with the firmware I tried some basic payloads and it seems to be working great. Later this week I will try to record while I run some of my best (most evil) payloads so I can share it with you and show you which possibilities you have with this cable.
This post is about httprobewhich is a tool for quickly probing for active http and https servers. If you have a list with subdomains you can quickly check which are active by using this tool. Httprobe is available on Github and the tool was created by Tom Hudson (@tomnomnom on Twitter).
2. Download ‘httprobe’ by running go get -u github.com/tomnomnom/httprobe
3. If you used my guide to install Go you can now find ‘httprobe’ at: /root/go-workspace/bin/assetfinder
Basic usage: To use httprobe you need to print out your domains and pipe them to httprobe. In the example below we are are using cat to read the data from domains.txt and gives its content as output to httprobe. cat domains.txt | httprobe
Adding extra ports: By default httprobe is probing for http on port 80 and https on port 443. We can add other ports by using the ‘-p’ parameter. cat domains.txt | httprobe -p http:8080 -p https:8443
Skip default ports and only probe for defined ports: By adding ‘-s’ parameter the default ports will be ignored. cat domains.txt | httprobe -s -p http:8080 -p https:8443
Specify a timeout: If you know that the response time on the target server might be high you can specify a custom timeout by using the ‘-t’ parameter. The time is configured in milliseconds. cat domains.txt | httprobe -t 10000
Combine with other tools: You can combine ‘httprobe’ with other tools such as ‘assetfinder’. If you don’t know about assetfinder you can read my earlier post that helps you getting started with assetfinder.
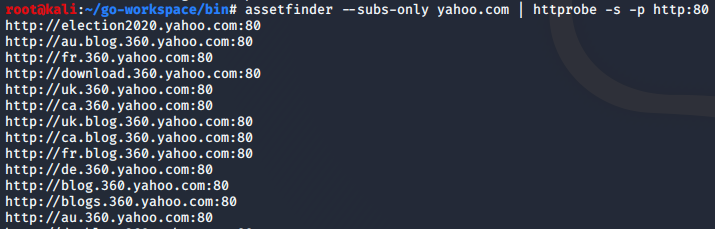
One example on how you can chain assetfinder with httprobe. assetfinder --subs-only yahoo.com | httprobe -s -p http:80 In the example we first searched for subdomains at yahoo.com and piped the result to httprobe to find out which of the subdomains that were listening on port 80.
In this post I will write a bit about Assetfinder which is an quick and awesome tool for finding subdomains. The tool is available in Github and was created by Tom Hudson (@tomnomnom on Twitter).
According to the information on Github, Assetfinder uses the following resources to find subdomains
2. Download assetfinder by running the following command. go get -u github.com/tomnomnom/assetfinder
3. If you used my guide to install Go you can now find assetfinder at: /root/go-workspace/bin/assetfinder
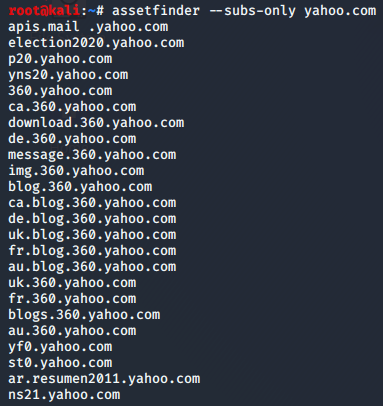
How to use Assetfinder: Navigate to assetfinder and run ./assetfinder exampledomain.com If you only want the subdomains you can add –subs-only. ./assetfinder --subs-only exampledomain.com
Save the output to a file: You can also save the output to a file by adding “> filename” ./assetfinder --subs-onlyexampledomain.com > domains
The tool is really quick so it is perfect to use it when you want a fast way to find subdomains for a target company. I really love this tool. <3
Golang (Go) is a programming language that are becoming more and more popular and I have seen many interesting tools that are written in Go. Since Go are not being installed by default in Kali Linux I thought that publishing a quick-start guide could be a good idea.
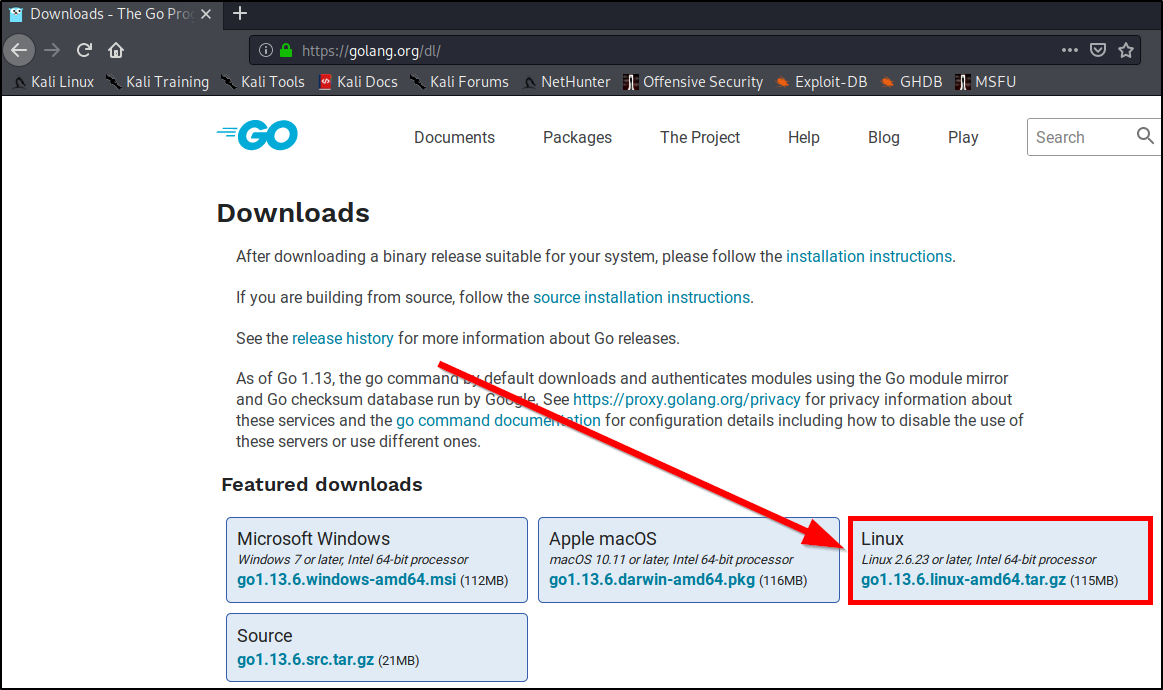
Download the latest version for Linux – “gox.xx.x.linux-amd64.tar.gz”
Open your terminal and navigate to your downloads folder cd /root/Downloads
Extract the files tar -C /usr/local/ -xzf go1.13.6.linux-amd64.tar.gz
Add variables for GO by modifying “~/.bashrc” vim ~/.bashrc Add the following paths to the end of the file export GOPATH=/root/go-workspace export GOROOT=/usr/local/go PATH=$PATH:$GOROOT/bin/:$GOPATH/bin
Now we need to refresh the bashrc to get the updated variables source ~/.bashrc
Now we just need to verify that everything is correct configured and we can do that by creating a simple ‘hello world’ program in Go. vim helloworld.go Add the following code to the file: package main import "fmt" func main() { fmt.Printf("Hello world!\n") } Then save the file and try to run the program: go run helloworld.go If everything was configured correctly you should see something like this: You are now ready to use Golang on your Kali Linux machine!